Three Color Dogfish Solid State Drive
Quick-Start Installation Guide
NOTE:This guide applies to most solid state drives; check the instructions included with your SSD for more details.
The interface types of our products SSD are SATA interface, M.2 interface (2242, 2280), PCIE interface. As long as your computer motherboard has the appropriate interface type, you can install it accordingly. The following are the installation steps for the SATA 2.5 interface:
Upgrading your existing hard disk drive (HDD) to a new Solid State Drive (SSD) is easy!
This guide provides quick instructions on how to upgrade your SATA-based desktop or notebook computer HDD to a SSD.
Replacing your HDD with a solid state drive consists of three easy steps:
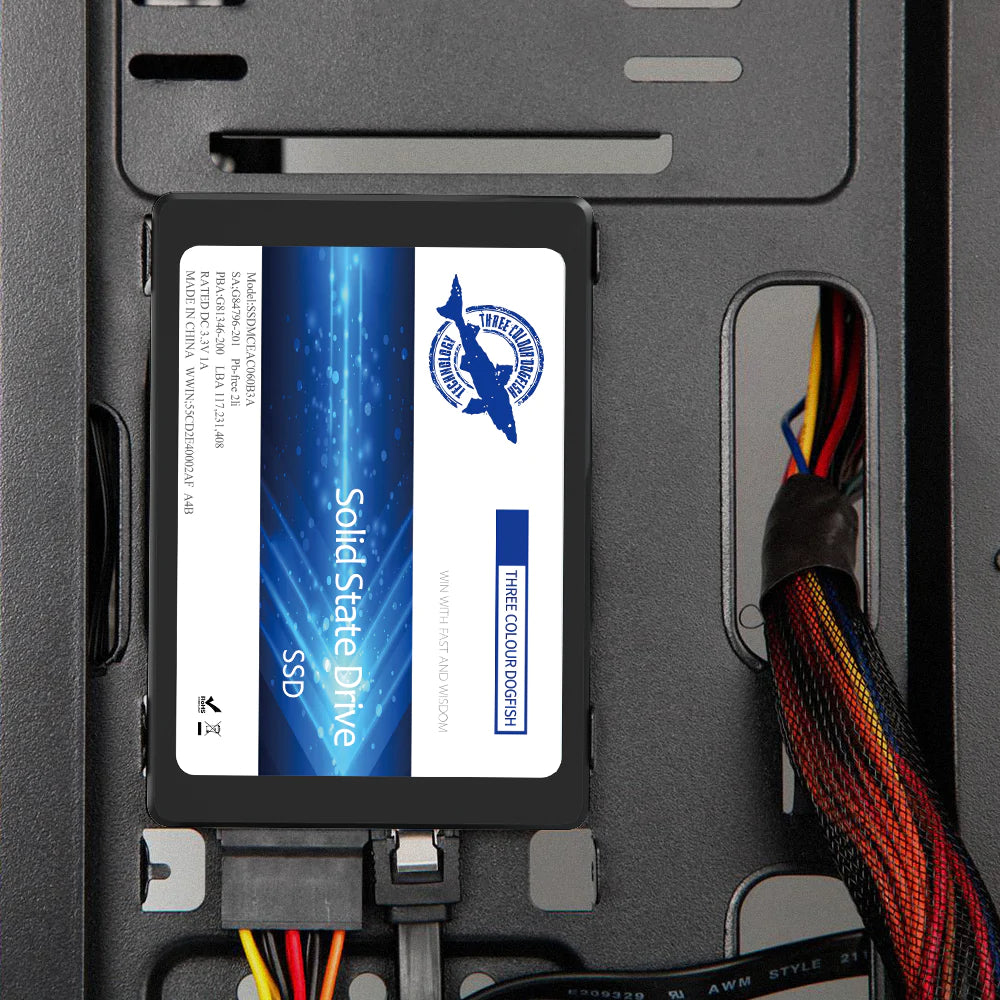
STEP 1 Connecting Your SSD to Your Computer
In the first step, you will connect your SSD to your computer in order to clone your data. Simply follow these directions:
STEP 2 Clone your data
In the next step, you will clone the data from your existing HDD to your new SSD. (You can download some well- known data cloning software from the Internet.)This step is the same for both desktop and notebook computers
NOTE:Be sure to keep your computer’s power cable plugged in during this process
STEP 3 Replacing your HDD
We’re almost done! In this final step, you will swap your current HDD with your new SSD. Before you begin, be sure to shut your computer down and disconnect the power cable.
Remove the battery if it’s a notebook computer.
This process will differ depending on whether you are installing your new SSD in a desktop or notebook computer. We’ll cover these in two separate sections. If you’re installing your SSD in a desktop computer, please skip to the “Desktop Computer SSD Installation” sectionbelow.
Notebook Computer SSD Installation
When your computer boots for the first time, you may see a screen indicating that the upgrade process is complete.
Desktop Computer SSD Installation
To install your SSD in a desktop computer, follow these steps:
NOTE:If your computer has a 2.5-inchdrive bay, you will not need to install the 3.5-inch mounting adapter.
When your computer boots for the first time, you may see a screen indicating that the upgrade process is complete.
And that’s it! Enjoy the speed of your new SSD!
Troubleshooting:
1.Will the SSD experience a performance decrease? If so, is there a way to reset the drive to a factory default?
Performance decrease has been reported on some of the SSDNow drives. If you have an older SSD drive that does not have effective Garbage Collection, SSD drive performance will drop over time.This is due to the way the system overwrites data that has been flagged for deletion. Try using the Secure Erase tool like HDDErase to wipe the drive and restore it to original condition.
2.What is S.M.A.R.T. and do the SSDNow drives support it?
Self-Monitoring, Analysis, and Reporting Technology (S.M.A.R.T.) is a built-in monitoring capability in hard drives and SSDs. It can allow users to monitor the health of a device. It does this through monitoring software designed specifically for the S.M.A.R.T. feature. All of our SSD Now drives support S.M.A.R.T.
3.Should I defragment the SSDNow drive to maintain optimal performance?
SSDs do not require defragmentation. Since there are no physical disks, there is no need to organize the data in order to reduce seek time. Therefore defragmenting an SSD is not effective.
Also, defragmenting an SSD can put undue wear on specific areas of the drive. SSDs aredesigned to write data as evenly as possible over the entire drive to reduce undue wear to any one location. Nonetheless defragmenting your SSD drive a couple of times will not harm it. Howeverif it is done continuously over a long period, it may reduce the life of the drive.
Technical Support:
Drive: TRIM command, S.M.A.R.T. monitor system, ECC technology Certification: TAA, RoHS, FCC, CE,WWN,Operating Temperature: 0℃--70℃ Storage Temperature: -40℃--85℃
WARRANTY:
Compared the 1-2 year warranty of other ssd products,
we provide 3-year warranty because we are confident in the high-quality ssd product.
If there are any problems with the ssd, please contact us freely and we will send you a new product for free.